
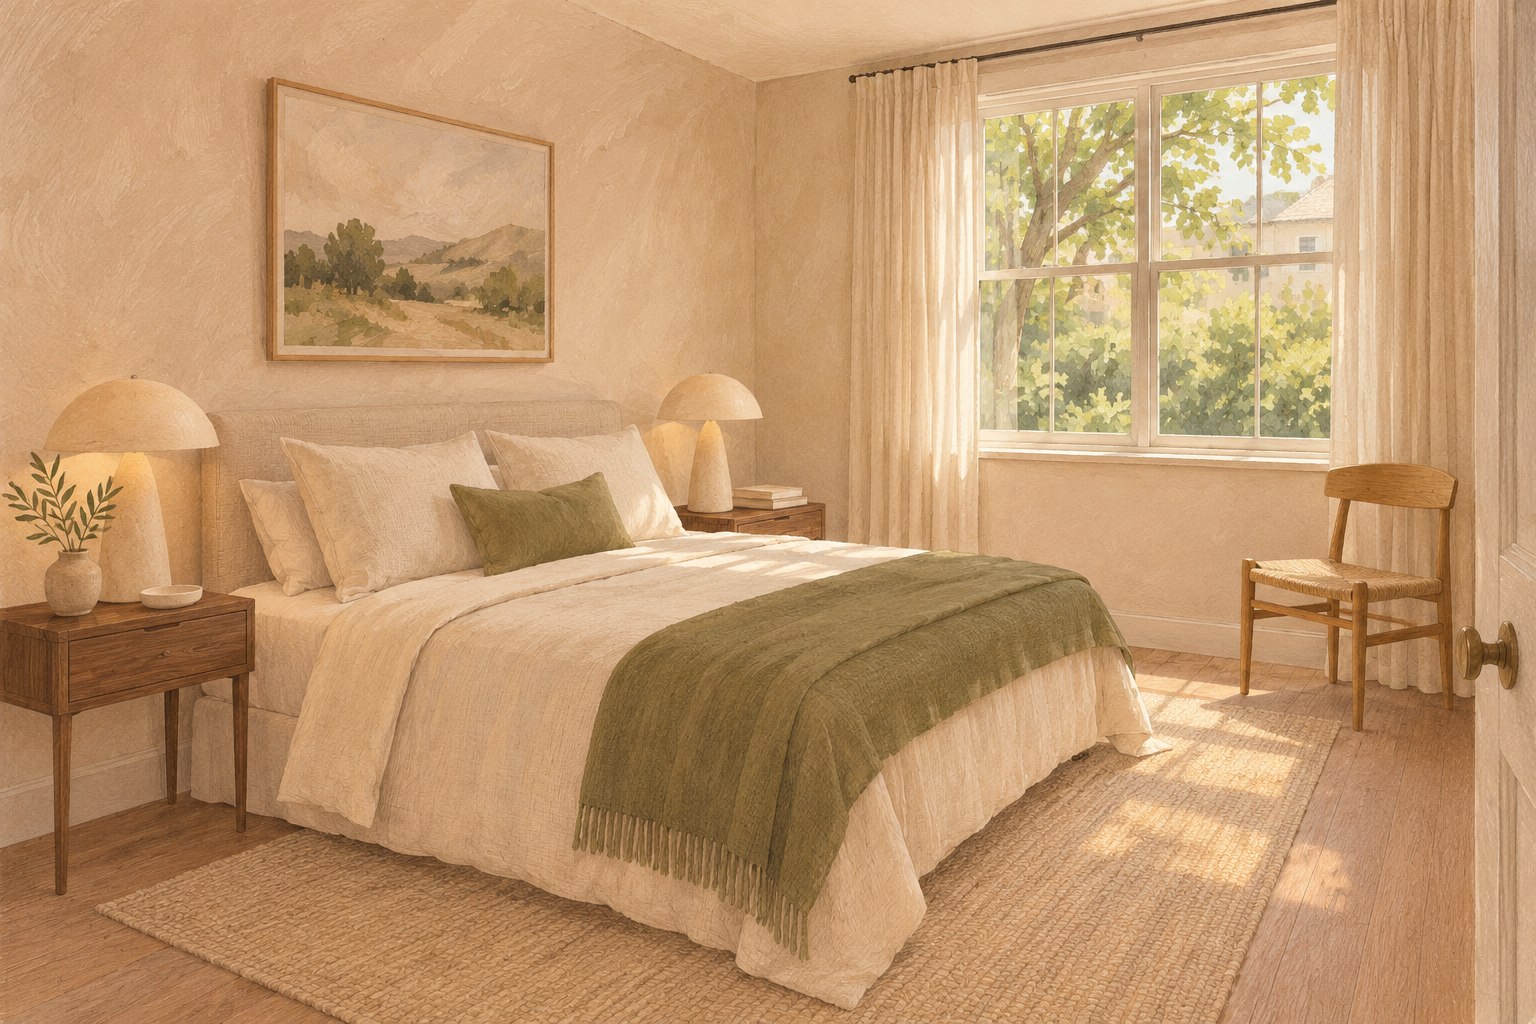
Balance daylight and practical lighting without concealing what the room is like.
Define what the lighting needs to explain
Light is useful in a property photograph when it helps someone understand the room. It should reveal the layout, surfaces and relationship to windows without suggesting a permanently brighter or different space. Start by writing the image’s job: show the depth of a living room, make a bedroom’s proportions legible or explain how a dining area connects to the kitchen. Different rooms may need different photographic timing and treatment.
Separate three decisions. First, what can be improved physically through cleaning, positioning and compatible working lamps? Second, what timing makes the room easiest to photograph accurately? Third, how should the photographer balance the remaining contrast? Keeping those decisions distinct prevents an assumption that every difficulty must be solved by buying more lights or making extensive digital changes.
This is an editorial preparation workflow rather than a technical exposure formula. A professional photographer should choose the equipment and capture method appropriate to the property. The homeowner or stager contributes accurate room information, sensible access and a repeatable setup for later viewings. The successful result is not merely a bright image; it is a room whose light feels plausible when the visitor sees the actual property.
Make a simple daylight observation log
Visit the room at the times realistically available for photography. Record where direct sunlight falls, which surfaces reflect it and when strong shadows cross important features. Note weather conditions so a dull morning is not mistaken for a permanent characteristic. You do not need a complex measurement system to give the photographer useful observations. A few ordinary reference photographs with their times can be enough to reveal the room’s pattern.
Look beyond the window itself. A pale wall may bounce light into the middle of the room, while a deep overhang can limit daylight even when the sky is bright. Nearby buildings, foliage and window orientation affect the experience. Describe what you can see rather than inventing a cause. If the property has an unusual light pattern, let the photographer assess it rather than deciding that it must be corrected digitally.
Use the log to sequence the shoot. Perhaps a bedroom is easiest to read before direct sun creates a strong patch across the bed, while a living area works later. Build in practical constraints such as access, occupants and building rules. The log is a planning aid, not a guarantee that the weather will cooperate, so agree what happens if the actual conditions differ.
Remove obstructions before adding equipment
Start with reversible changes that allow the existing light to do its work. Move a tall decorative arrangement away from a window if it blocks the view into the room. Open suitable curtains or blinds and check whether their position looks deliberate. Keep safety, privacy and operating requirements in mind; do not remove a covering simply because a completely bare window appears brighter in a reference image.
Clean accessible glazing and fittings safely using appropriate methods. A dusty shade or dirty pane can distract even if it is not the main reason the room looks dim. Avoid climbing, disassembling fittings or using unsuitable products to meet a photography deadline. Identify tasks that need a competent professional and schedule them early enough that the room can be restored afterwards.
Then reassess the furniture. A high-backed chair immediately in front of the main daylight source can create an unnecessary visual barrier. Moving it slightly may improve both circulation and the photograph without changing the room’s function. Test the result from the doorway and from the expected photographic positions. The aim is a more intelligible room, not a completely empty one in which furniture has been removed only to expose every window.
Read lamp labels rather than guessing from wattage
When replacing a bulb, start with the fitting’s requirements and the existing lamp information. The U.S. Federal Trade Commission explains that brightness is described in lumens and light appearance is indicated by colour temperature. Those are different attributes from energy use. That limited distinction is useful when comparing products, but it does not establish a universal bulb specification for every room or every fitting.
Record the cap type, physical size and compatibility requirements before shopping. Check the fitting and lamp manufacturer’s directions, including any enclosed-fitting or dimmer limitations. Do not exceed the fitting’s rating or improvise an adaptor. A compatible replacement that works reliably is more valuable than a supposedly perfect colour selected without regard to the equipment it will enter.
Look at the replacement in the actual room before buying a large batch. A label helps narrow the choice, while the surrounding materials and existing daylight affect how the result appears. Avoid making a whole house visibly inconsistent by replacing only a few lamps with a very different light appearance. If a fitting behaves unusually or there is a wiring concern, ask a qualified electrician to assess it. Listing preparation should not become an informal electrical repair project.
Create a coherent evening scene
A bright daytime photograph is only one part of the property’s presentation. Test how the room works when daylight is limited, particularly if viewings will take place after work. Turn on the intended lamps and walk the normal route through the space. Check whether switches can be found easily and whether a useful surface remains in shadow. An attractive photograph should not depend on an arrangement nobody can reproduce later.
Think in terms of activities rather than a matching number of lamps. A living room may need general visibility, a place to read and enough light to move safely between doors. A bedroom should allow ordinary use without relying on a decorative bedside lamp as the only source. These are planning observations, not a prescription for a new lighting installation. Existing equipment may work well once faults and unsuitable lamp combinations are addressed.
Write down the scene that will be used for viewings. Identify which switches operate which lights, and keep any permitted controls available to the showing agent. Avoid unplugging essential equipment to power a staging lamp. Route portable-lamp cables sensibly and follow product directions. A repeatable evening setup should improve the visitor’s understanding while remaining safe and convenient for the people using the home.
Check glare, reflections and the room’s real surfaces
Light can make a room less readable when it creates strong glare on a worktop, television or glossy cabinet. Inspect the view from several positions before deciding that a surface simply needs more illumination. Sometimes adjusting a blind or moving a portable lamp gives a clearer result. The photographer can assess the remaining reflections and choose an appropriate camera position or capture method.
Reflective surfaces can also reveal things outside the intended frame. Look in mirrors, glazed doors, polished appliances and framed artwork for personal paperwork, people and equipment. Remove private items physically where practical. A test photograph is useful because small reflections are easy to miss when attention is focused on the room as a whole. Review it at sufficient size to see details rather than relying on a phone thumbnail.
Do not treat every reflection as a defect to erase. A window reflected in a mirror may be part of how the room actually looks. The important question is whether the finished photograph represents the space accurately and protects privacy. Where an edit might alter the apparent property, discuss it with the photographer and listing professional before approval. Keep source images available so the final treatment can be compared with the original scene.
Brief the photographer about mixed light
Many rooms combine daylight with ceiling lights and portable lamps. Rather than trying to make every source identical by intuition, show the photographer the existing arrangement and ask how it should be prepared. Explain which fittings work, which controls are unusual and which lamps are temporary staging pieces. Their capture and editing choices should respond to the actual room, not an assumption that every listing needs all lights on at all times.
Agree who makes the final setup decision on shoot day. A stager may have balanced the furniture and accessories, but the photographer still needs room to work. One clear decision-maker prevents several people changing blinds, lamps and furniture in conflicting ways between frames. Keep a small list of non-negotiable property facts, such as a view that must remain true or a fixture that is not included in the sale.
Review a representative image early enough to fix physical problems while the team is present. Ask whether the room reads naturally and whether permanent materials retain plausible colours. Avoid insisting on a dramatic stylistic treatment that makes one room look disconnected from the rest of the property. Coherence across the complete listing set matters more than producing a single unusually striking image.
Distinguish photographic treatment from property alteration
Ordinary photographic choices and misleading property changes should not be treated as the same thing. A photographer may need to manage contrast to show a room clearly, but removing an obstruction, inventing a view or changing a permanent finish can change what the buyer believes exists. Discuss those boundaries before the work is delivered. Do not wait until a questionable image has already been uploaded to several platforms.
The National Association of REALTORS’ U.S. consumer guide advises disclosure when enhancements materially change the property. The responsible agent must still check the applicable brokerage, listing-service and local requirements. That source is background context, not a substitute for location-specific advice. A caption that seems adequate in one setting may not satisfy the rules or technical format used elsewhere.
Keep an approval record for any substantial alteration. State what changed, why it changed and where the explanation appears in the published set. Ensure the disclosure remains understandable in a mobile crop or social export. If a treatment cannot be explained clearly without undermining the image’s usefulness, consider using a more straightforward photograph. Presentation works best when it helps viewers form accurate expectations rather than asking them to decode hidden adjustments.
A hypothetical room with a bright window and dark corner
Imagine a living room with a large west-facing window, a dark reading corner and a glossy television opposite the light. This is an illustrative planning example, not a real project or a promised outcome. The first observation is that the room is easy to use but difficult to capture in one ordinary reference photograph: the window becomes very bright while the corner loses detail.
Begin by moving a tall vase that partly obscures the window and checking whether the reading chair can turn slightly without blocking circulation. Review the room at different times, noting when direct sun creates glare on the television. A compatible working lamp may explain the reading corner’s function, but its cable and control still need a sensible position. None of these actions requires claiming the room has more natural light than it actually receives.
The photographer receives the observation log and chooses a suitable capture approach. The agent confirms any relevant image rules, and a test frame is reviewed for accurate window views and material colours. Finally, the team records a darker-weather viewing scene so the room remains legible when a visitor arrives at another time. The lesson is coordinated preparation, not a universal recipe that solves every lighting challenge.
Prepare a shoot-day lighting kit without overbuying
A useful preparation kit is a small collection of things needed to maintain the agreed setup, not a speculative lighting inventory. Keep compatible spare bulbs for known fittings where practical, the relevant product information and a list of controls. Include suitable cleaning materials for accessible shades or reflective surfaces, used according to their directions. Leave technical photographic equipment choices to the photographer unless a different arrangement has been explicitly agreed.
Check portable lamps before the day. Make sure they are complete, stable and appropriate for the intended use. Avoid borrowing a decorative lamp at the last minute if nobody knows its requirements or condition. If a particular piece is essential to the composition, confirm its availability and have a sensible alternative that preserves function and scale. A missing accent lamp should not derail the entire room.
Keep the kit separate from personal belongings and store it safely. Identify who can authorise a replacement purchase and who is responsible for returning borrowed items. This prevents a minor equipment issue from creating an unplanned shopping trip during the shoot. A well-prepared team should spend its time checking the actual room rather than searching through several boxes for the correct lamp or control.
Use a final lighting handoff and stop at a clear result
Before the team leaves, walk through the rooms in the agreed viewing setup. Confirm that lights function, controls are understood and portable equipment has not created new obstructions. Compare the room with a reference image and record any changes made during photography. If furniture or lamps moved for a particular angle, return them to the usable viewing arrangement rather than leaving a camera-only composition behind.
Save a short handoff for the homeowner and agent. It can include the lamp positions, normal switch settings, suitable blind arrangement and any controls that should not be changed. Keep it practical enough to follow before an appointment. Remove obsolete instructions when the setup changes, since conflicting versions can be more confusing than no written guide at all.
The stopping point is a complete listing set that explains the property accurately and a real room that can be presented consistently. Perfectly even light is not the goal, and purchasing equipment indefinitely will not remove every difference between weather conditions. A clear brief, functioning compatible lamps, appropriate professional capture and honest image review provide a more reliable process. Revisit the plan only when a new problem is observed, rather than treating every additional accessory as an improvement.
These are original editorial recommendations, not a service quote or a promise of sale results. Background context: NAR consumer guide to staging a house for sale. U.S. sources are identified as context; local market and listing rules should be checked with the responsible professional.
U.S. Federal Trade Commission: Shopping for Light Bulbs
NAR Consumer Guide: Staging Your House for a Sale (U.S. context)
How we use sources and illustrations ↗